How to Animate UI Elements in RPG Maker MZ
Creating a visually appealing and interactive user interface (UI) is essential for engaging players in your RPG Maker MZ game. Animating UI elements, such as menus, buttons, and status bars, can elevate your game’s polish and professionalism. This comprehensive guide explores how to animate UI elements in RPG Maker MZ using both the built-in features of the engine and powerful plugins, ensuring your game stands out with dynamic and responsive interfaces.
What Are UI Elements in RPG Maker MZ?
UI elements in RPG Maker MZ are the graphical components that players interact with outside the game world. These include:
- Menus: Main menu, inventory, skill menus, and more.
- Buttons: Interactive elements for confirming actions or navigating options.
- Status Bars: Visual indicators for health, mana, or experience.
- Windowskins: Frames around menus and dialog boxes.
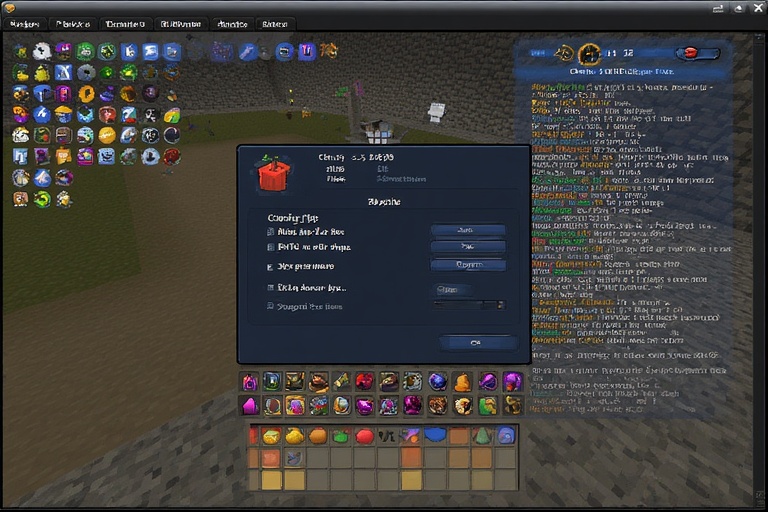
In RPG Maker MZ, UI elements are often created using pictures or windowskins, which can be static or animated. Learning how to animate UI elements in RPG Maker MZ can make these components feel more alive, enhancing the overall player experience.
Method 1: Animating UI Elements with Built-in Features
RPG Maker MZ includes built-in tools for creating animations, primarily designed for characters and battles. However, with some creativity, these tools can be adapted to animate UI elements, especially if they are represented as pictures.
Step 1: Creating an Animation Sheet
The first step in how to animate UI elements in RPG Maker MZ is to create an animation sheet. An animation sheet is a single image containing multiple frames of an animation, organized in a specific format for RPG Maker MZ:
- Format: Each row contains 5 cells, with each cell measuring 192×192 pixels.
- Rows: You can have up to 20 rows (100 cells total), but most animations use 2-5 rows (10-25 cells).
- Example: To animate a button, create frames showing the button in different states, such as normal, hovered, and clicked.
Tools for Creating Animation Sheets:
- Use graphic editors like Adobe Photoshop, GIMP, or Aseprite to design your animation sheet.
- Ensure frames are aligned properly and meet the size requirements.
Example Scenario: Suppose you want to animate a menu button that pulses when selected. Create an animation sheet with:
- Frame 1: Button in normal state.
- Frame 2: Button slightly enlarged (hovered state).
- Frame 3: Button glowing or pulsing. Arrange these frames in a row of 5 cells, repeating or adjusting as needed.
Step 2: Setting Up the Animation in the Database
Once your animation sheet is ready, configure it in RPG Maker MZ’s database to prepare for animating UI elements:
- Open the Database by clicking the “Database” button in the main menu.
- Navigate to the Animations tab.
- Right-click on a blank animation entry and select Create MV-compatible Data.
- In the animation editor:
- Assign your animation sheet as the image.
- Select the appropriate cell for each frame.
- Adjust properties like position, opacity, scale, and timing to create smooth transitions.
Example Configuration: For a button animation, you might set:
- Frame 1: Normal state, 100% opacity, 100% scale.
- Frame 2: Hovered state, 100% opacity, 110% scale.
- Frame 3: Pulsing state, 80% opacity, 105% scale. Use the Tween button to interpolate between frames for smoother animations.
Step 3: Applying Animations to UI Elements
To animate UI elements in RPG Maker MZ using the built-in method, represent your UI element as a picture:
- Use the Picture event command to display your UI element (e.g., a button graphic).
- Use the Show Animation event command, targeting the picture, to play your animation.
Challenges:
- The built-in animation system is designed for character or battle animations, so applying it to UI elements may require workarounds, such as precise event timing.
- For complex UI components like entire menus, this method may be less effective, as it’s primarily suited for picture-based elements.
Table: Pros and Cons of Built-in Animation Method
| Aspect | Pros | Cons |
|---|---|---|
| Cost | Free, included in RPG Maker MZ | Requires more manual setup |
| Ease of Use | Accessible to all users | Less intuitive for UI animations |
| Flexibility | Works for simple picture-based UI | Limited for complex UI components |
| Learning Curve | Moderate, requires creativity | May need trial and error |
Method 2: Using Plugins for Advanced UI Animation
For a more streamlined and powerful approach to how to animate UI elements in RPG Maker MZ, plugins are highly recommended. Plugins extend the engine’s functionality, making it easier to create dynamic and interactive UI elements.
Pictures UI Creator Plugin
The Pictures UI Creator plugin by Sang Hendrix is a standout tool for animating UI elements in RPG Maker MZ. Available for purchase at Sang Hendrix’s store, this plugin simplifies the process of creating and animating custom menus and UI components.
Key Features:
- Animation Menu: Assign opening, idle, or ending animations to any picture with a few clicks.
- Drag-and-Drop: Position pictures easily to build your UI layout, similar to designing in Photoshop.
- Custom Menus: Create fully functional menus with animated buttons, icons, or other elements.
- Conditional Branch Support: Use event commands to control animations based on game conditions (e.g., animate a button when clicked).
How to Use Pictures UI Creator:
- Purchase and download the plugin from Sang Hendrix’s store.
- Install the plugin in your RPG Maker MZ project by adding it to the plugin manager.
- Use the Picture event command to display your UI element.
- Access the plugin’s Animation Menu to assign animations (e.g., a button that fades in, pulses, or slides out).
- Test your animations in-game to ensure they work as intended.
Example Use Case: Create an animated main menu where buttons slide in from the side when the menu opens and pulse when highlighted. With Pictures UI Creator, you can assign these animations directly to picture-based buttons, saving time and effort.
Additional Resources:
- Video tutorials are available at Sang Hendrix’s YouTube playlist.
- Join the Discord community for support and tips.
Other Animation Plugins
While Pictures UI Creator is tailored for UI animations, other plugins can also assist in how to animate UI elements in RPG Maker MZ:
- RPG Maker Animation Solution: Also by Sang Hendrix, this plugin focuses on general animation display but can be used for picture-based UI elements. Available at Sang Hendrix’s store.
- Custom Scripts: Advanced users with JavaScript knowledge can write custom scripts to animate UI elements, offering maximum flexibility but requiring programming skills.
Table: Comparison of Animation Plugins
| Plugin | Cost | UI Animation Focus | Ease of Use | Best For |
|---|---|---|---|---|
| Pictures UI Creator | Paid ($19.99) | High | Very user-friendly | Custom menus, buttons |
| RPG Maker Animation Solution | Paid | Moderate | User-friendly | General animations, some UI |
| Custom Scripts | Free/Paid | Varies | Requires coding | Advanced, custom solutions |
Choosing the Right Method for Animating UI Elements
When deciding how to animate UI elements in RPG Maker MZ, consider the following factors:
- Budget: Built-in features are free, while plugins like Pictures UI Creator require a purchase.
- Skill Level: Beginners may prefer the user-friendly interface of plugins, while advanced users might explore custom scripts.
- Complexity: Simple animations (e.g., button pulses) can use built-in features, but complex UI systems (e.g., animated menus) benefit from plugins.
- Time: Plugins save time by simplifying the animation process, especially for UI-specific tasks.
Best Practices for Animating UI Elements in RPG Maker MZ
To ensure your animations enhance your game, follow these best practices when learning how to animate UI elements in RPG Maker MZ:
- Keep Animations Subtle: Avoid overly flashy or chaotic animations that might distract or annoy players. For example, a gentle fade or scale effect is often more effective than rapid flashing.
- Maintain Consistency: Use a consistent animation style across all UI elements to create a cohesive look. For instance, if buttons pulse, ensure all buttons follow the same animation pattern.
- Optimize Performance: Complex animations can impact game performance, especially on lower-end devices. Test animations to ensure they run smoothly.
- Test Thoroughly: Use RPG Maker MZ’s test play function to preview animations and ensure they work as intended across different devices and resolutions.
Additional Resources for Learning How to Animate UI Elements
To deepen your understanding of how to animate UI elements in RPG Maker MZ, explore these resources:
- Official RPG Maker Blog: The blog offers tutorials, such as Making MV Style Animations, which can be adapted for UI animations.
- RPG Maker Forums: The RPG Maker MZ Support and Tutorials sections are excellent for finding community-driven guides and asking questions.
- YouTube Tutorials: Videos like How to Make Custom Animations in RPG Maker MZ by Driftwood Gaming provide visual guidance.
- Reddit Community: The r/RPGMaker subreddit offers discussions and tips, such as posts on animation techniques.
Conclusion
Mastering how to animate UI elements in RPG Maker MZ can transform your game’s interface into a dynamic and engaging experience. Whether you use the built-in animation tools to create custom animation sheets or leverage plugins like Pictures UI Creator for a more streamlined approach, the possibilities are vast. By experimenting with these methods and following best practices, you can create UI animations that captivate players and elevate your game’s quality. Start small, test often, and explore community resources to refine your skills in animating UI elements in RPG Maker MZ.
FAQs
- Can I animate UI elements without using plugins in RPG Maker MZ?
Yes, you can animate UI elements in RPG Maker MZ using built-in animation features by creating animation sheets and applying them to picture-based UI elements via event commands. - Is the Pictures UI Creator plugin free?
No, Pictures UI Creator is a paid plugin, priced at $19.99 or more, but it offers robust features for animating UI elements in RPG Maker MZ. - Are there free alternatives to Pictures UI Creator for animating UI elements?
Some free plugins or scripts may be available on the RPG Maker forums or other community platforms, but they may offer limited functionality compared to paid options. - How can I learn more about animating UI elements in RPG Maker MZ?
Check the official RPG Maker blog for tutorials, explore the RPG Maker forums, or watch YouTube tutorials like RPG Maker MZ The Basics. - Can I use RPG Maker MV animations in RPG Maker MZ?
Yes, RPG Maker MZ supports MV-compatible animations, allowing you to use MV animation sheets for UI elements, provided they are set up correctly in the database.
